How to Free Up Disk Space in Windows 11 Safely (Without Breaking Apps)
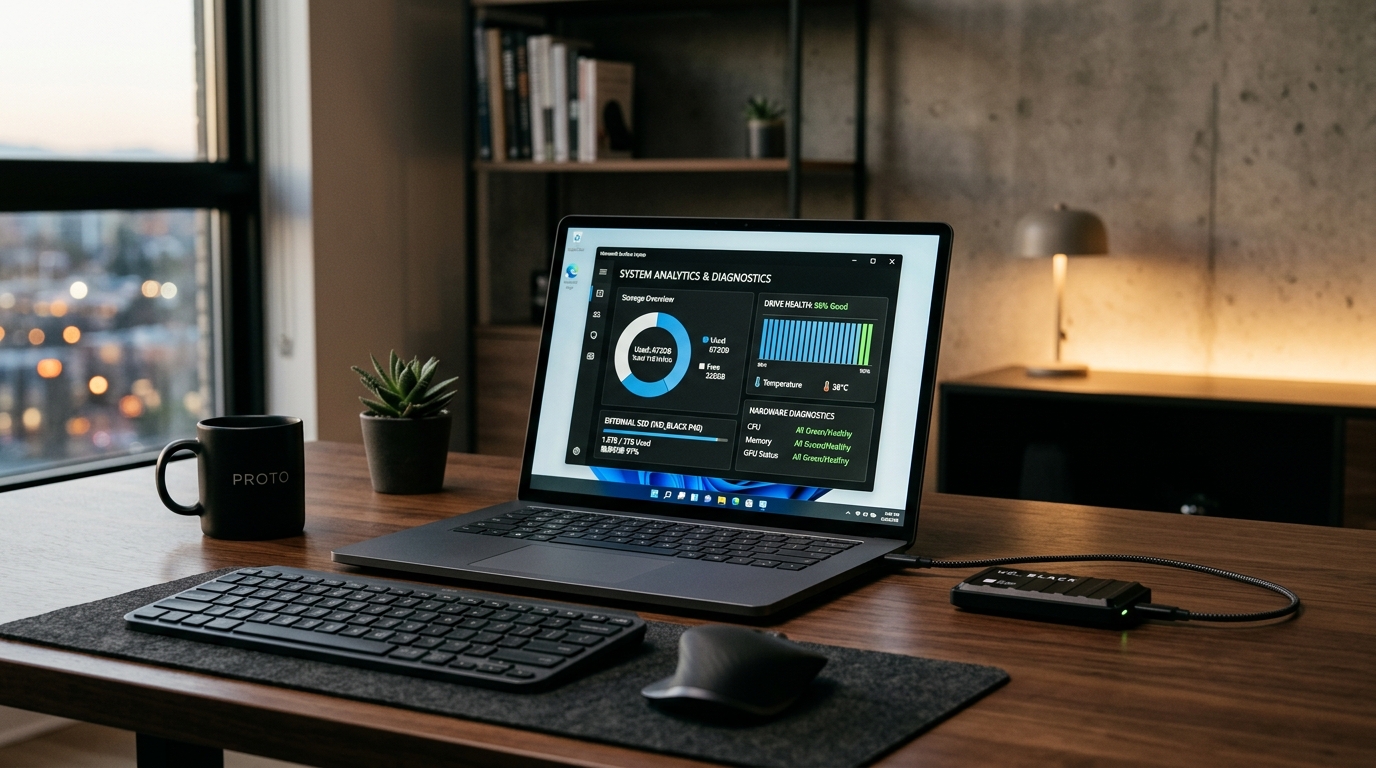
When your primary system drive (C:) runs out of storage in Windows 11, background updates fail, game loading times degrade, and the entire operating system begins swapping memory inefficiently to virtual disk caches.
cleanmgr /sageset via an elevated command prompt.
What You Need Before Starting
- Windows 11 (Home or Pro, any version).
- Administrator privileges.
- 10 to 15 minutes of operating system maintenance time.
Step-by-Step Guide: 4 Safe Cleanup Stages
Stage 1: Clean Windows Update Cache & Delivery Optimization
Major Windows updates retain backup copies of previous builds in a hidden folder named Windows.old. If your current version is stable, this cache can be safely removed:
- Press Win + I to open Settings.
- Navigate to System → Storage → Temporary files.
- Select Previous Windows installations and Delivery Optimization Files.
- Click Remove files. This single step frequently reclaims between 12 GB and 25 GB of disk space.
Stage 2: Configure Automated Storage Sense
Storage Sense automatically cleans user temporary files and empties the Recycle Bin on a regular schedule:
- Under System → Storage, toggle Storage Sense to On.
- Set Run Storage Sense to Every week or During low free disk space.
- Set Delete files in Recycle Bin to 30 days.
Stage 3: Safely Compress or Disable Hibernation (For Desktops & Large SSDs)
Windows allocates a file named hiberfil.sys equal to roughly 40% to 75% of your total RAM. On desktop PCs that rarely use sleep/hibernation, you can reduce this file:
# Open Terminal as Administrator and run:
powercfg /hibernate /type reduced
This command shrinks the hibernation file while preserving fast startup, saving up to 16 GB on a 32 GB RAM system.
Storage Recovery Impact Comparison
| Target Area | Typical Savings | Safety Level |
|---|---|---|
| Previous Windows Installations | 10–25 GB | 100% Safe (prevents rolling back build) |
| Recycle Bin & Temp AppData | 2–8 GB | 100% Safe |
| Delivery Optimization Cache | 1–4 GB | 100% Safe |
Common Troubleshooting & Warnings
- Never delete the
WinSxSfolder directly: The Windows Component Store handles operating system dependencies. Instead, use the built-in DISM command:Dism.exe /online /Cleanup-Image /StartComponentCleanup. - Check your Downloads folder: Storage Sense may be configured to purge Downloads older than 30 days. Verify that checkbox is unchecked if you store critical receipts or setup installers there.
Frequently Asked Questions
Will cleaning temporary files delete my browser bookmarks or personal photos?
No. Temporary files consist of cached installer fragments, error memory dumps, and thumbnail caches. Your personal libraries, documents, and browser profiles remain untouched.